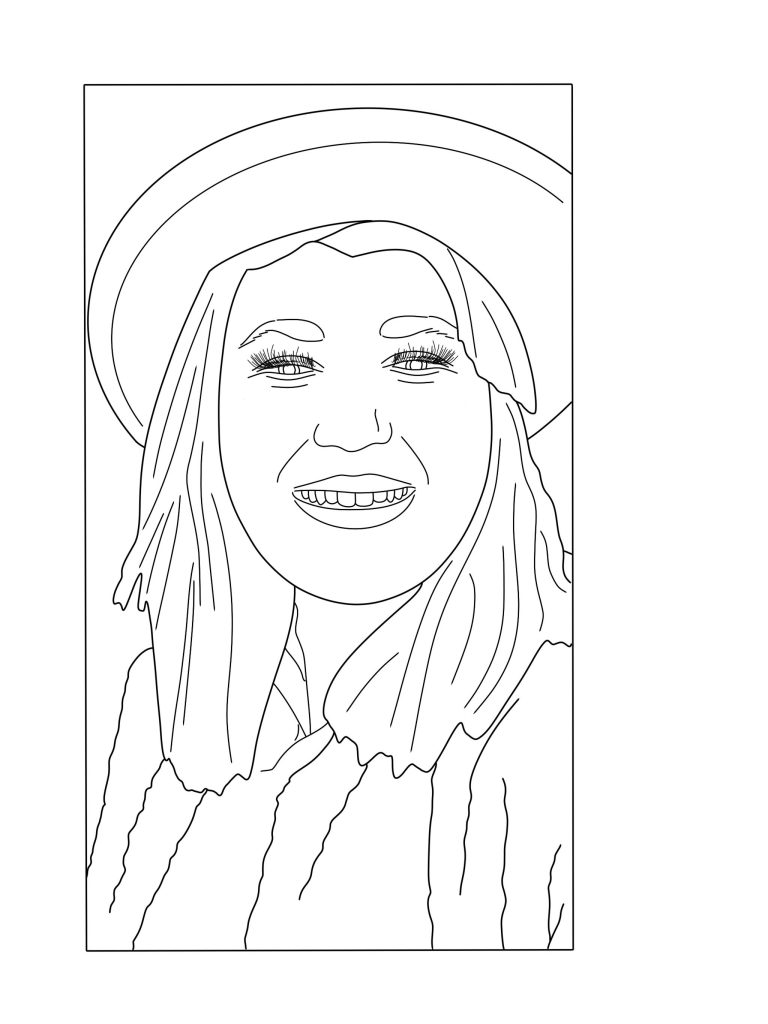
For my second set of self-portraits I moved onto Adobe Photoshop, software I definitely have more experience in.


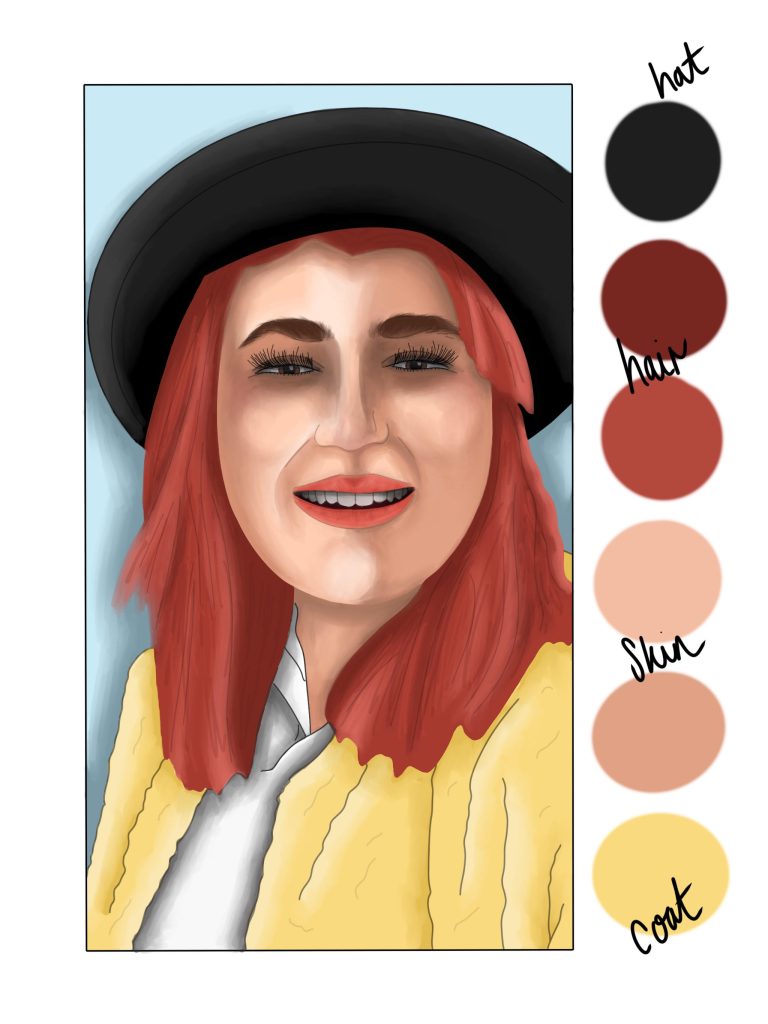
Jumping straight into my first piece for this project, lets gets one thing clear… I hate the finished result. Using a similar process as my illustrator pieces (tracing, block colouring and highlighting and contrasting), I then took the next step of blending the colours together. On previous pieces, this requires a lot of layers, time and patience, something I fear I may have lost during this design. I’m not sure what irritates me about this finished design, whether it’s the lighting being wrong, the eyes or the detailing but the finished product is not something I would want my name associated with. If I was to redo this piece, I’d go about it in a different way, adding more layers and a more focal light point to help with the shading.
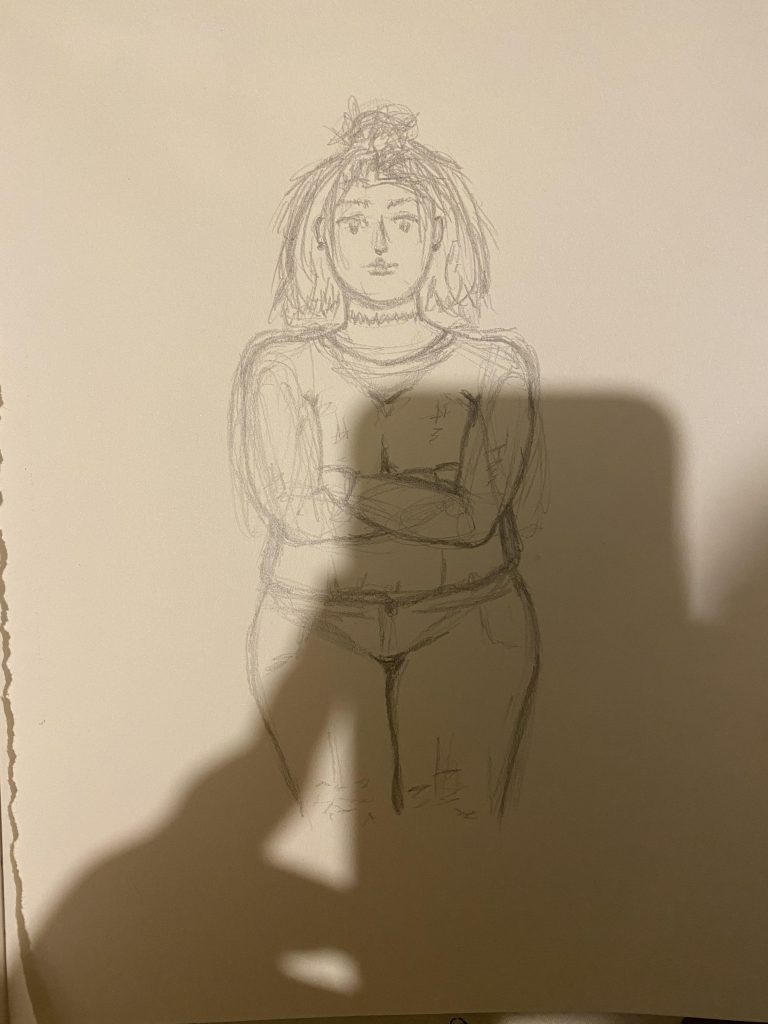
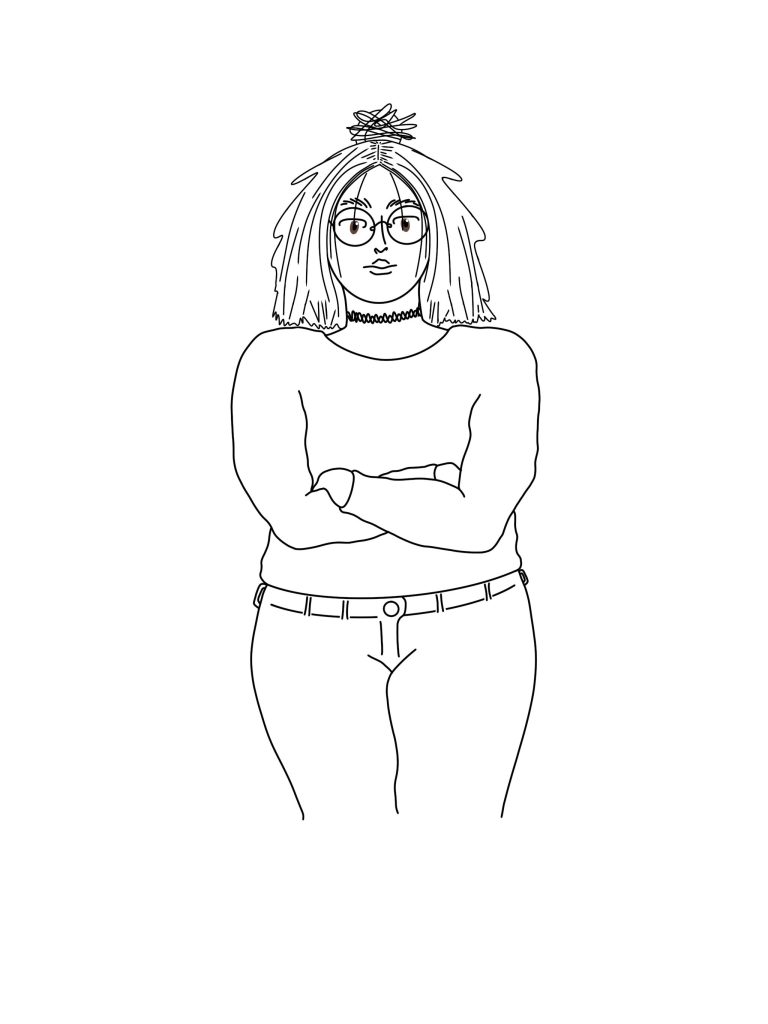
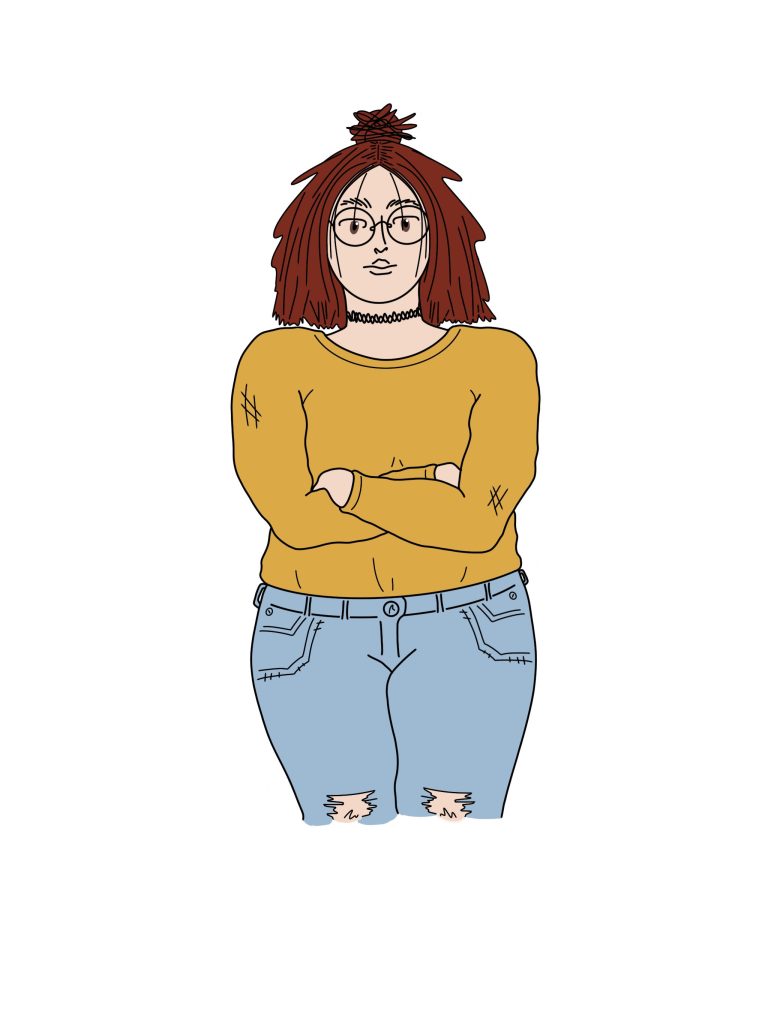
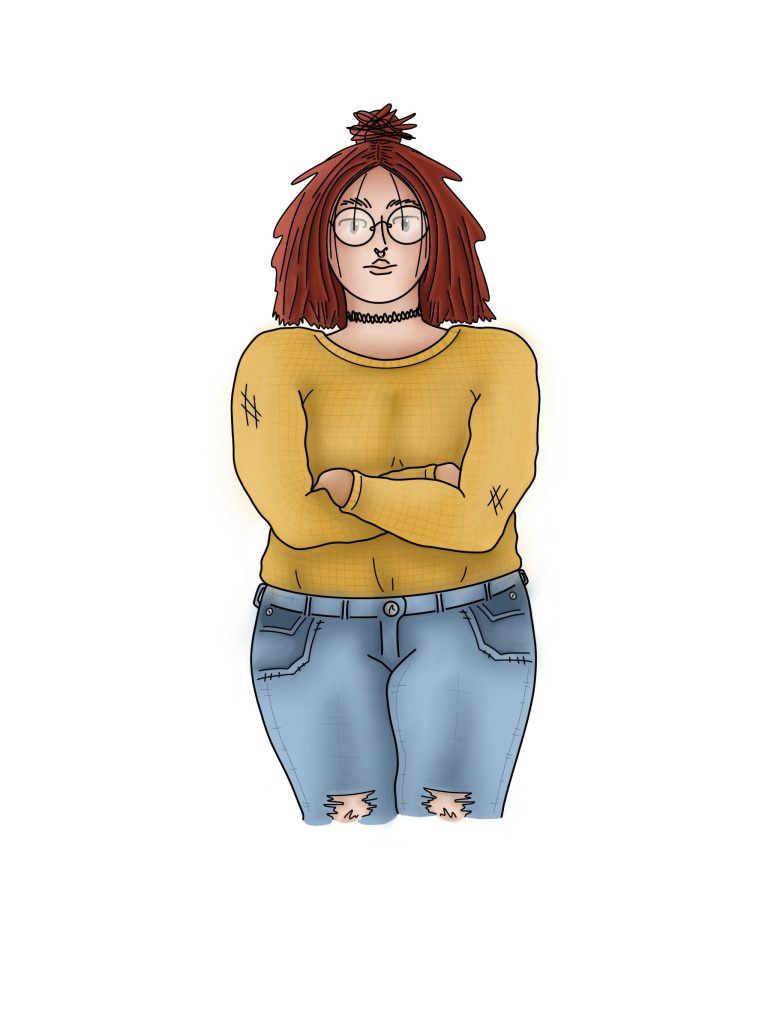
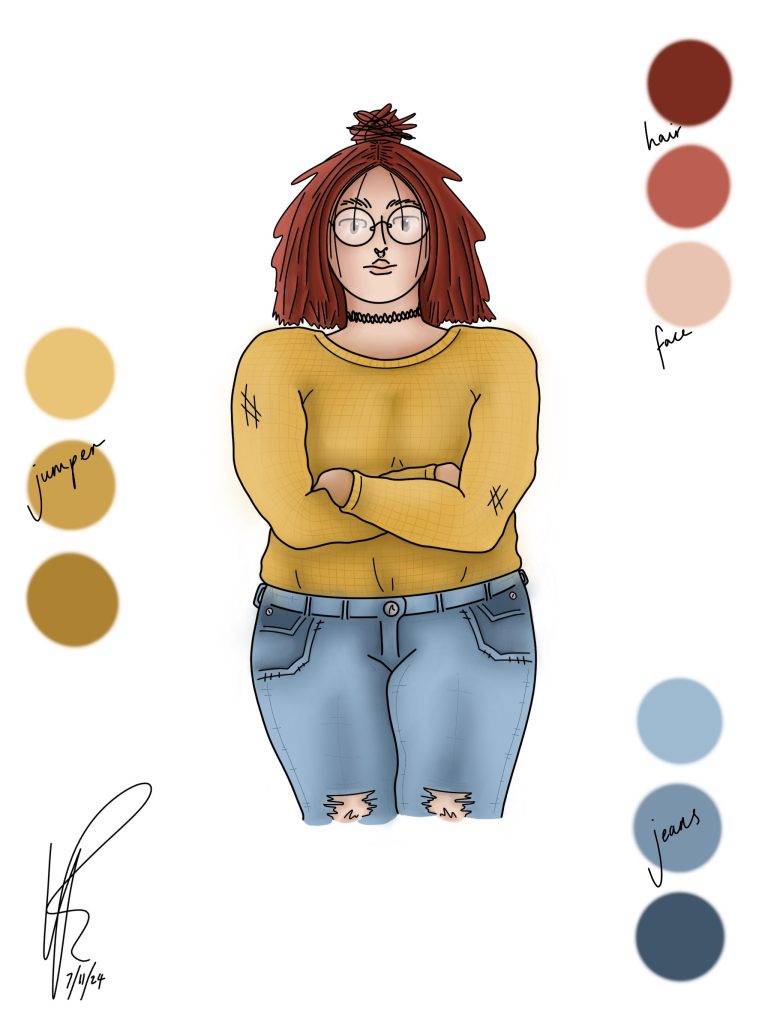
Moving onto my final self-portrait, where I chose a different approach. Instead of using an original image of myself, I chose to illustrate one. Starting in my sketchbook, I drew a rough mock-up of a character loosely inspired by myself. The next step was then to take a photo and load it into Photoshop. From here, I then began adding in more detailed line-work, through things like my hair and glasses, making sure to still stay in an illustrative style. My goal wasn’t to achieve a realistic result, but a sketched-out effect. After these steps where completed, I pretty much followed the same steps as my previous pieces; block colour, highlight and contour and blending. The finished piece is my favourite of the two, with a finished result I actually wanted and am proud of.
Looking back, I think my confidence got the better of me. Out of the four self-portraits, these two have to be my least favourite. With hindsight, I probably would have slowed down and taken more time to finish elements of these pieces to a higher standard.